Im eigenen HomeLab sind ja diverse Geräte von Unify im Einsatz. Sei es
- USG 4 Pro
- Switche mit 10Gbit LWL
- Switche mit 1/10 Gbit Copper
- WLAN APs
- WLAN Mesh Antennen
Diese Geräte und die angeschlossenen Clients erzeugen einiges an nützlichen Daten. Klassiches Monitoring mit
Kandidaten wie OpenITCockpit (SNMP, CheckMK, check_nwchealth) oder CheckMK (SNMP, check_mk) bring hier schon einiges ans Licht:
Beispiel: SNMP in Openitcockpit gegen 10Gbit LWL Switch
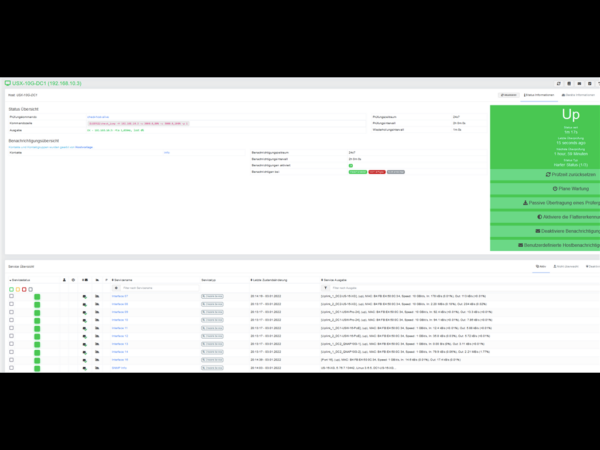
Soweit ok! Melden wir uns aber mal mit einem READ ONLY User am CONTROLLER an sehen wir ja schon deutlich mehr!
Beispiel: WIFI Scan mit allen APs der Nachbarschaft (Ausschnitt)
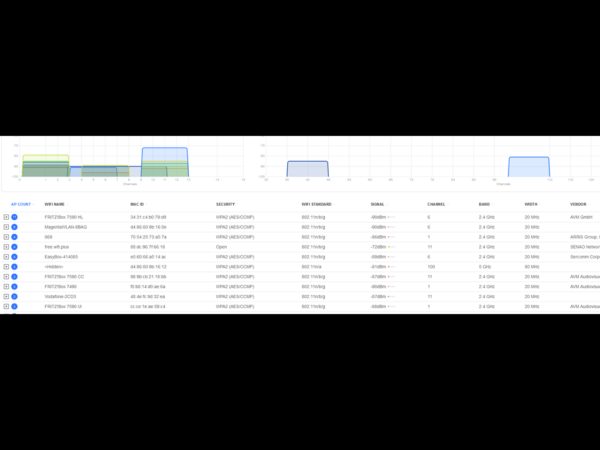
KANN man an all die Daten aus dem Controller kommen und diese VERNÜNFTIG darstellen? JA!
Grafana in Kombination mit Prometheus oder einfach via InfluxDB sind dein Freund!
Hervorrange Arbeit hat dabei das Projekt UNPOLLER gemacht (Link)
Da ich Grafana eh auf einer Ubuntu 18.04 LTS am laufen haben und Prometheus auf einer 2ten Ubuntu VM war es also nur noch ein kurzer Weg.
- Unpoller DEB downloaden vom Unpoller Github Projekt hier runterladen und mit
- dpkg -i Paketname installieren
- Im Unifi Controller als Admin einen READ Only ADMIN anlegen
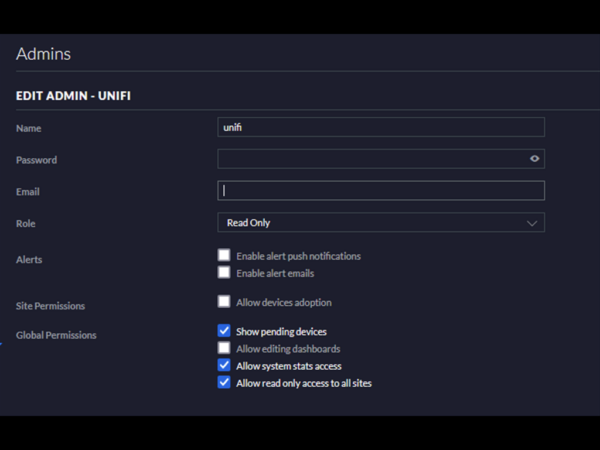
[prometheus]
disable = false
# This controls on which ip and port /metrics is exported when mode is “prometheus”.
# This has no effect in other modes. Must contain a colon and port.
# HIER wird der PORT definiert auf dem Prometheus später lauschen wird! Also vorher mal in Prometheus
# schauen was noch so an Ports nicht benutzt wird!
http_listen = “127.0.0.1:9244”
# Adding an SSL Cert and Cert Key will make Poller listen with SSL/https.
ssl_cert_path = “”
ssl_key_path = “”
# Errors are rare. Setting this to true will report them to Prometheus.
report_errors = false
## Record data for disabled or down (unlinked) switch ports.
dead_ports = true
[unifi.defaults]
# URL for the UniFi Controller. Do not add any paths after the host:port.
# Do not use port 8443 if you have a UDM; just use “https://ip”.
url = “https://CONTROLLER-IP:8443”
# Make a read-only user in the UniFi Admin Settings, allow it access to all sites.
user = “READONLIYUSERNAME”
# Password for UniFi controller user (above).
pass = “READONLYUSERPASSWORD”
# If the controller has more than one site, specify which sites to poll here.
# Set this to [“default”] to poll only the first site on the controller.
# A setting of [“all”] will poll all sites; this works if you only have 1 site too.
sites = [“all”]
Anschliessend den Proller mit
sudo systemctl restart unifi-poller.service
5. Prometheus anpassen via
sudo nano /etc/prometheus/prometheus.yml
scrape_configs:
- job_name: ‘unifi’
static_configs:- targets: [‘localhost:9244‘]
Port MUSS identisch sein zum Eintrag in der UP.CONF vom Proller!
6. Restart von Prometheus via sudo systemctl restart prometheus.service
7. Kontrolle in Prometheus ob das neue TARGET läuft
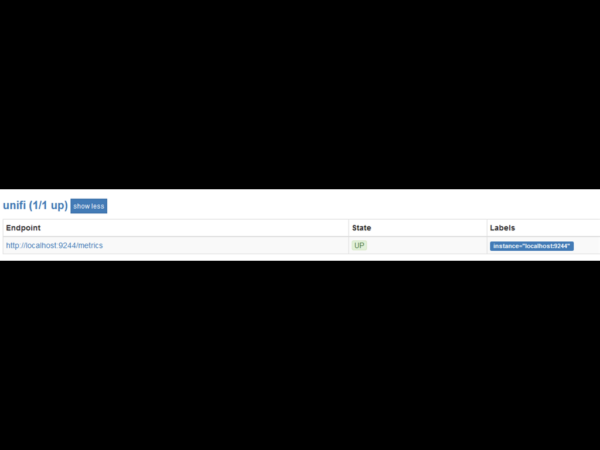
8. TESTEN wir doch gleich mal im GRAPH Teil von Prometheus ob wir an Daten kommen
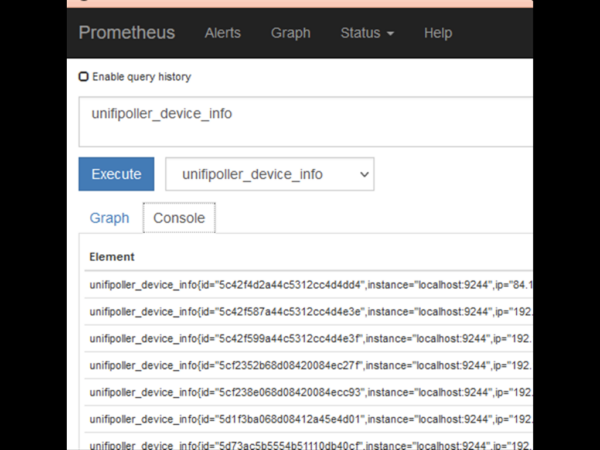
Prima. Jede Menge DATEN nun unter der Sektion unifipoller!
9. Verbinden wir nun noch Grafana Dashboards mit Prometheus und los! Super Dashboards sind von UNIFI-Poller unter den Grafana-Labs zu finden!
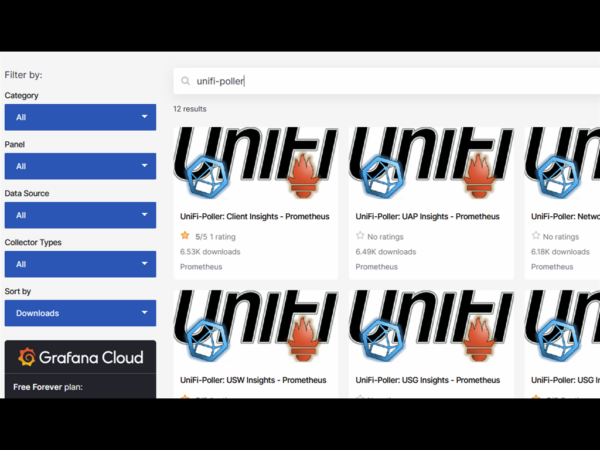
ACHTUNG: Ich nehme hier nur die Prometheus Dashboards und IMPORTIERE diese in mein lokales Grafana!
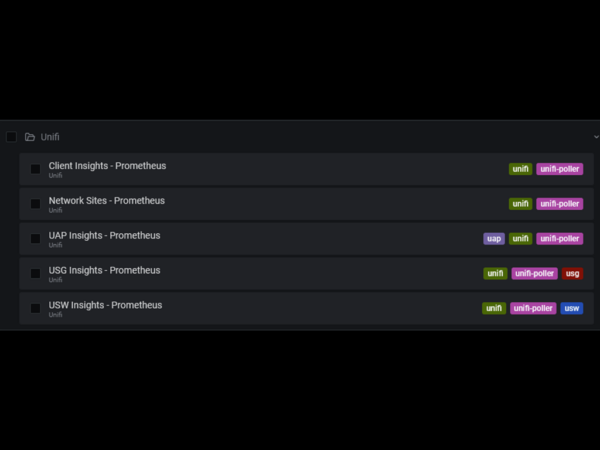
Client Insights:
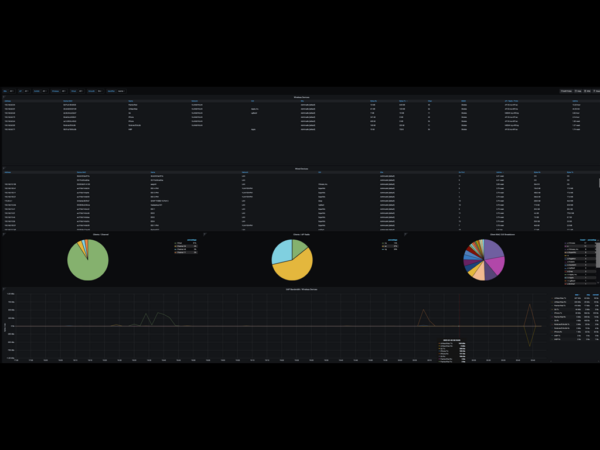
Network Sites (VPN User etc)
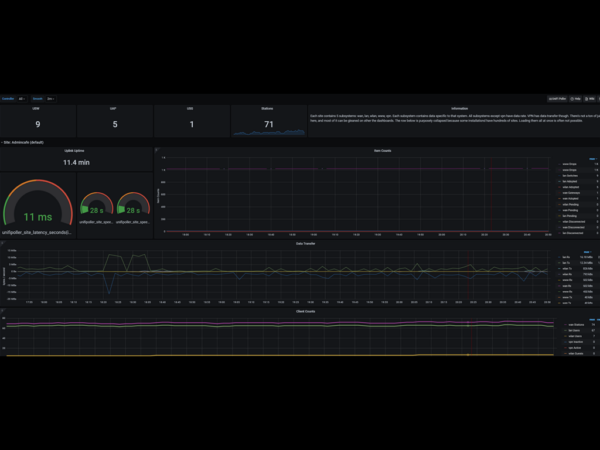
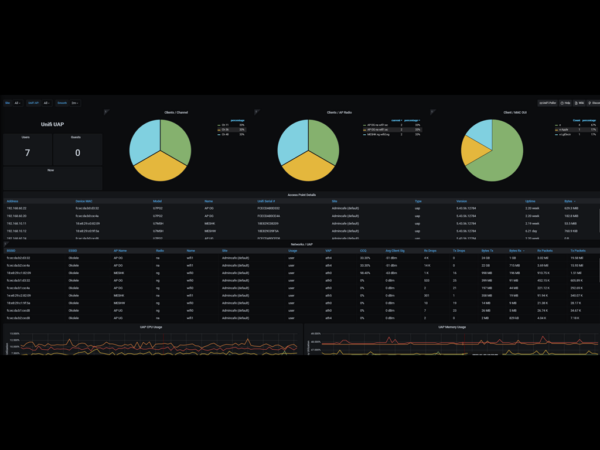
UAP Insights (WLAN APs und Mesh Antennen)
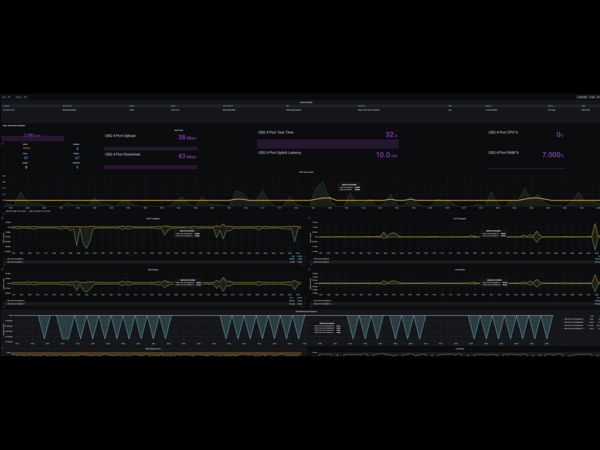
USG Insights (Firewall etc.)
USW Insights – ALLES was die Switche hergeben inclusive Portstatistiken
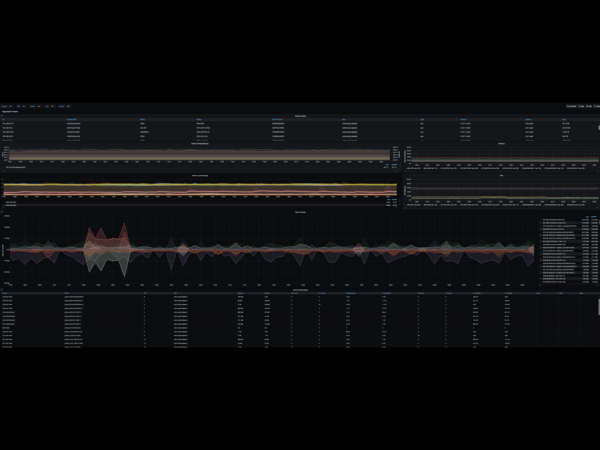
Und nun viel Spass beim erkunden der Daten…..