Challenge excepted:
1. Register at cloudflare.com for a new fresh public DNS Domain
2. Installed a Docker host (based on Ubuntu 24.04 LTS)
3. Spin up Adguard DNS Server via curl -s -S -L https://raw.githubusercontent.com/AdguardTeam/AdGuardHome/master/scripts/install.sh | sh -s -- -v
4. Spin up NginxProxy Manager in Docker with a compose file:
docker-compose.yaml
services:
app: image: jc21/nginx-proxy-manager:latest
restart: unless-stopped
container_name: nginx-proxy-manager
ports: # These ports are in format <host-port>:<container-port>
– 80:80 # Public HTTP Port
– 443:443 # Public HTTPS Port
– 81:81 # Admin Web Port # Add any other Stream port you want to expose #
– ’21:21′ # FTP # Uncomment this if IPv6 is not enabled on your host
# DISABLE_IPV6: ‘true’
volumes:
– /opt/nginx/data:/data
– /opt/nginx/letsencrypt:/etc/letsencrypt
networks:
default:
name: reverse-proxy
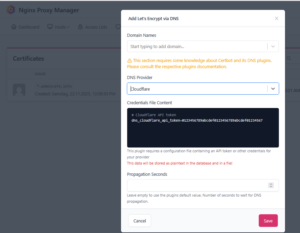
5. Connect Nginx-Proxy Server with your Cloudflare DNS Entry (wildcard cert)
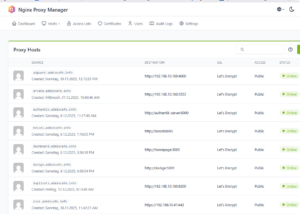
6. Create your new Domains for existing urls or create new one´s for local services or docker containers
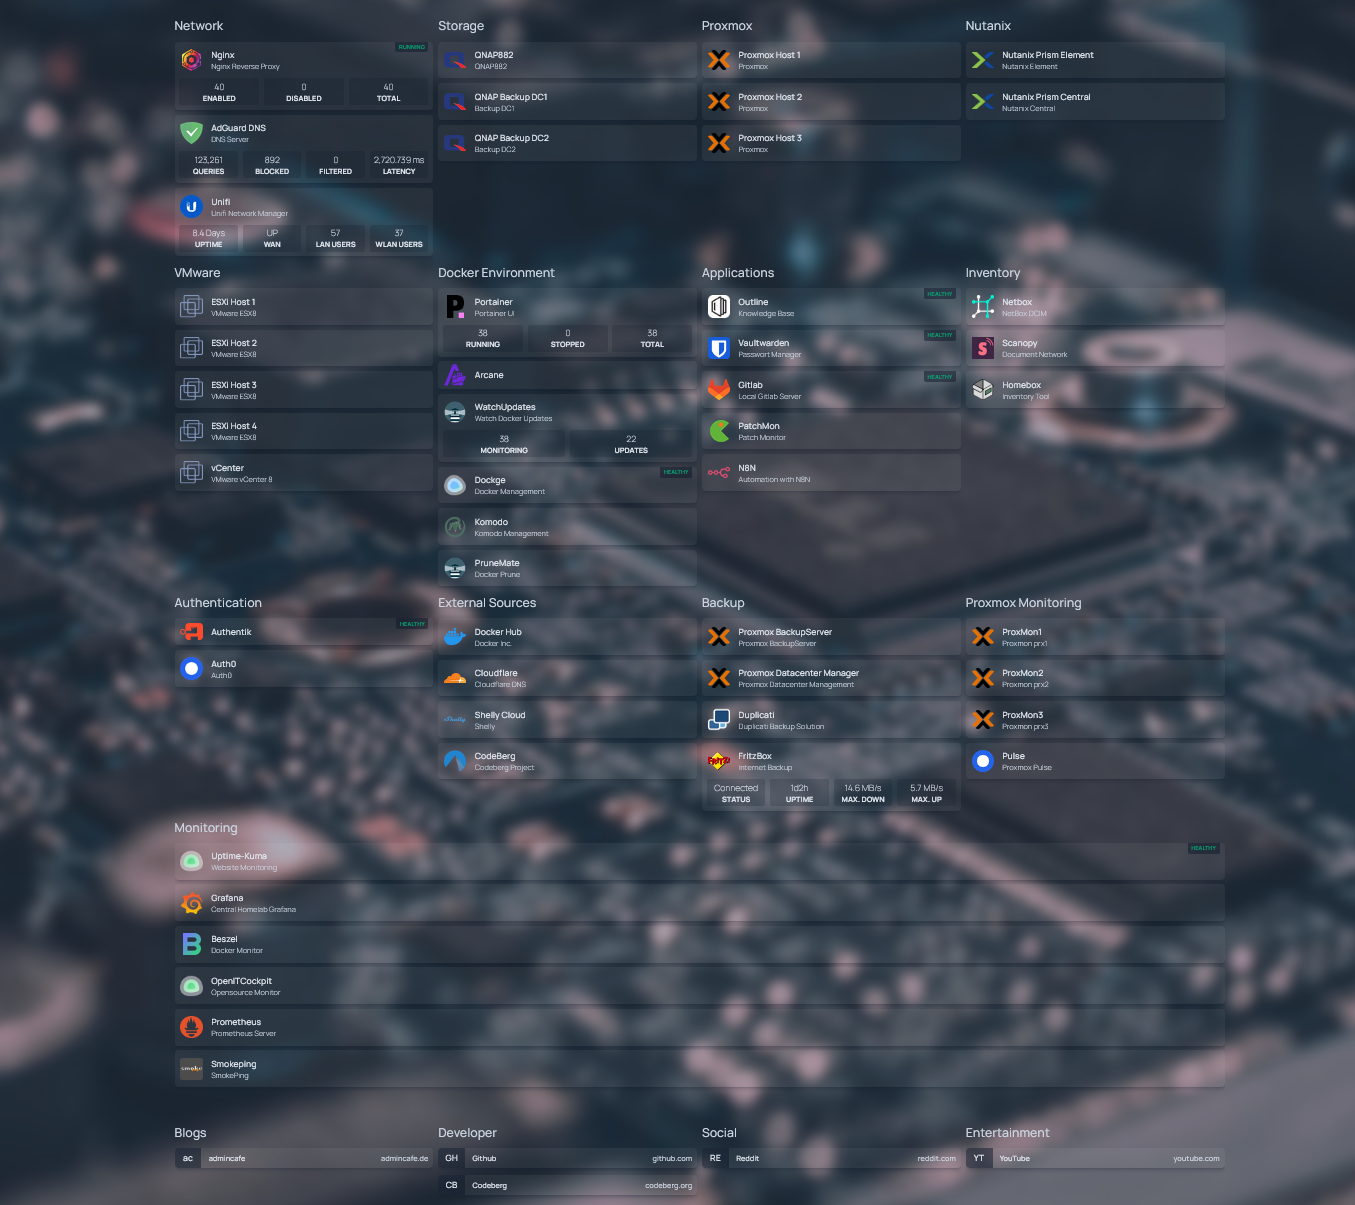
7. Finalize with a new Homepage Project Dashbboard. Spin it up with a compose file:
services:
homepage: image: ghcr.io/gethomepage/homepage:latest
container_name: homepage
restart: always
volumes:
– ./config/:/app/config # Make sure your local config directory exists
– ./images/:/app/public/images #Used for Image Icons (png, svg etc.)
– /var/run/docker.sock:/var/run/docker.sock # (optional) For docker integrations env_file:
– .env
networks:
– reverse-proxy
networks: reverse-proxy:
external: true
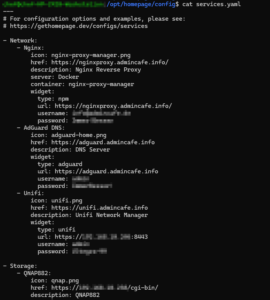
8. Modify the settings in your local /config/services.yaml
9. Enjoy your Dashboard……
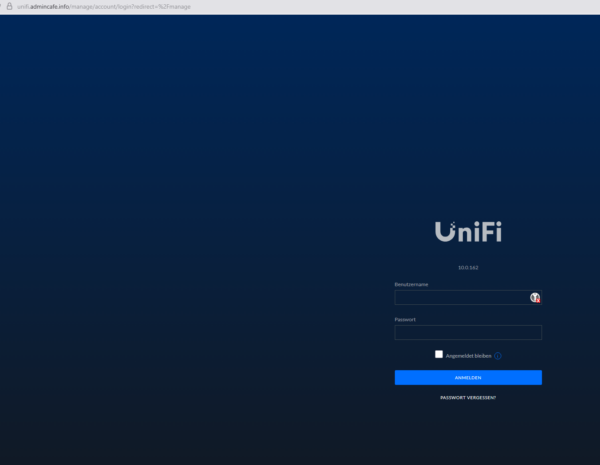
10. Open every URL with a valid lets encrypt cert now!